

Single Sign-On
Set up SAML single sign-on (SSO) from Business → Security in your web account. Use a workspace owner or admin account with access to these controls and an account that can configure your identity provider.
Connect your identity provider
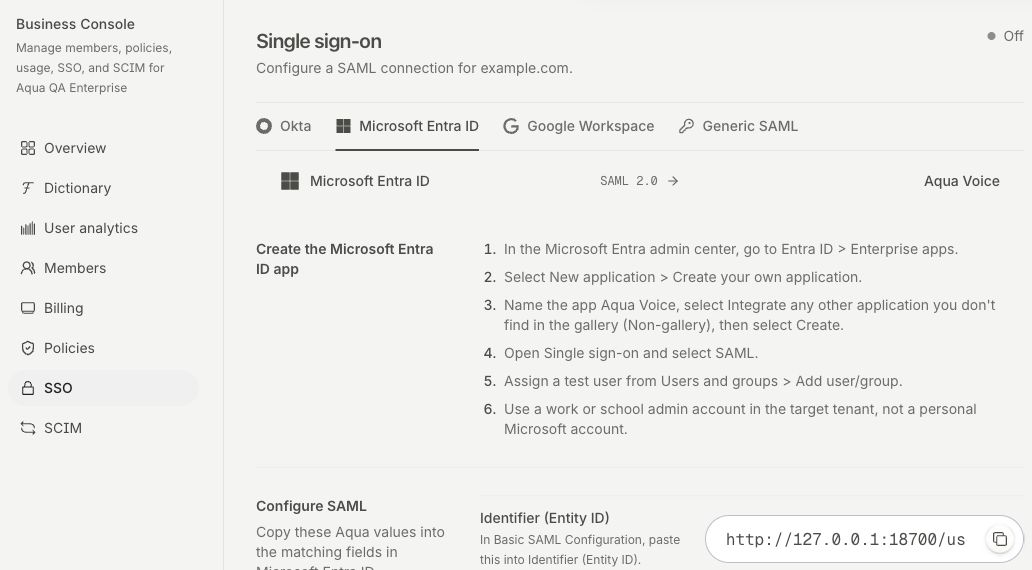
- Open Business → Security and choose your provider in the SSO setup flow.
- Create a SAML application in your provider. Copy the Aqua Voice values shown in the flow into the provider's matching fields.
- Set the attribute mappings shown by Aqua Voice. Use the values for your own workspace.
- Import the provider's Metadata URL or XML, or upload its XML file. The advanced fields also accept the IdP entity ID, SSO URL, and signing certificate.
- Choose Save and Test Connection. Complete the identity-provider sign-in and check the result in Aqua Voice.
Require SSO
Have every active workspace owner complete SSO sign-in at least once. Aqua Voice checks this before allowing you to require SSO for the workspace.
After the test succeeds and owners have signed in, use the SSO requirement control on the Security page. Check sign-in with a member account as well. Review the just-in-time provisioning setting if you want the sign-in flow to create eligible memberships.
Troubleshoot sign-in
- If the connection test fails, compare the metadata and attribute mappings with the values shown by Aqua Voice. Check the signing certificate and provider assignment.
- If an owner blocks enforcement, have that owner complete the tested SSO flow, then check again.
- If an expected member cannot sign in, check that the provider assigned the Aqua Voice app to that member and that the email matches the intended account.
For automatic provisioning and deprovisioning, see SCIM Provisioning. For an unresolved sign-in error, send support the workspace name, provider, time, and error message. Contact support