

Aqua Voice on Googlebook and Chromebook
Googlebook and Chromebook can use Aqua Voice through the Android app when Google Play lists the device as compatible. Google uses both names for distinct platforms. Googlebook combines Android and ChromeOS technology, while Chromebook runs ChromeOS. Google’s platform FAQ
Check the section for your device, then follow the shared setup steps below.
Googlebook
Googlebook supports installing Android apps directly from Google Play. Open Google Play on your Googlebook, or use the Google Play link on Downloads, and check whether Aqua Voice is available for your device. Google’s app installation instructions
Googlebook’s accessibility settings are under Settings → Accessibility. Microphone permission is under Settings → Apps → Aqua Voice → Permissions. Follow Aqua Voice’s setup prompts for overlay and accessibility access. Google’s accessibility settings and app permissions
Chromebook
Some Chromebooks support Android apps through Google Play. School or work administrators may restrict access. Open the Google Play link on Downloads from your Chromebook and check whether Aqua Voice has an Install button. Google’s Android app availability guide
ChromeOS Flex cannot install Aqua Voice’s Android app through Google Play. Google’s ChromeOS Flex FAQ
On Chromebook, test dictation in an Android app from Google Play first, then check each ChromeOS browser or web app you use. Text insertion depends on how ChromeOS exposes the selected field to Android’s accessibility or text input system. Compatibility must be checked separately for each destination. We have not verified these workflows on Chromebook hardware.
Install and set up Aqua Voice
The Android app requires Android 10 or later, a microphone, and touchscreen support. The touchscreen requirement can exclude laptop models. Google Play determines availability for your device. Google’s explanation of hardware compatibility
- Install Aqua Voice from Google Play if your device is listed as compatible.
- Open Aqua Voice and sign in with your existing account, or create one.
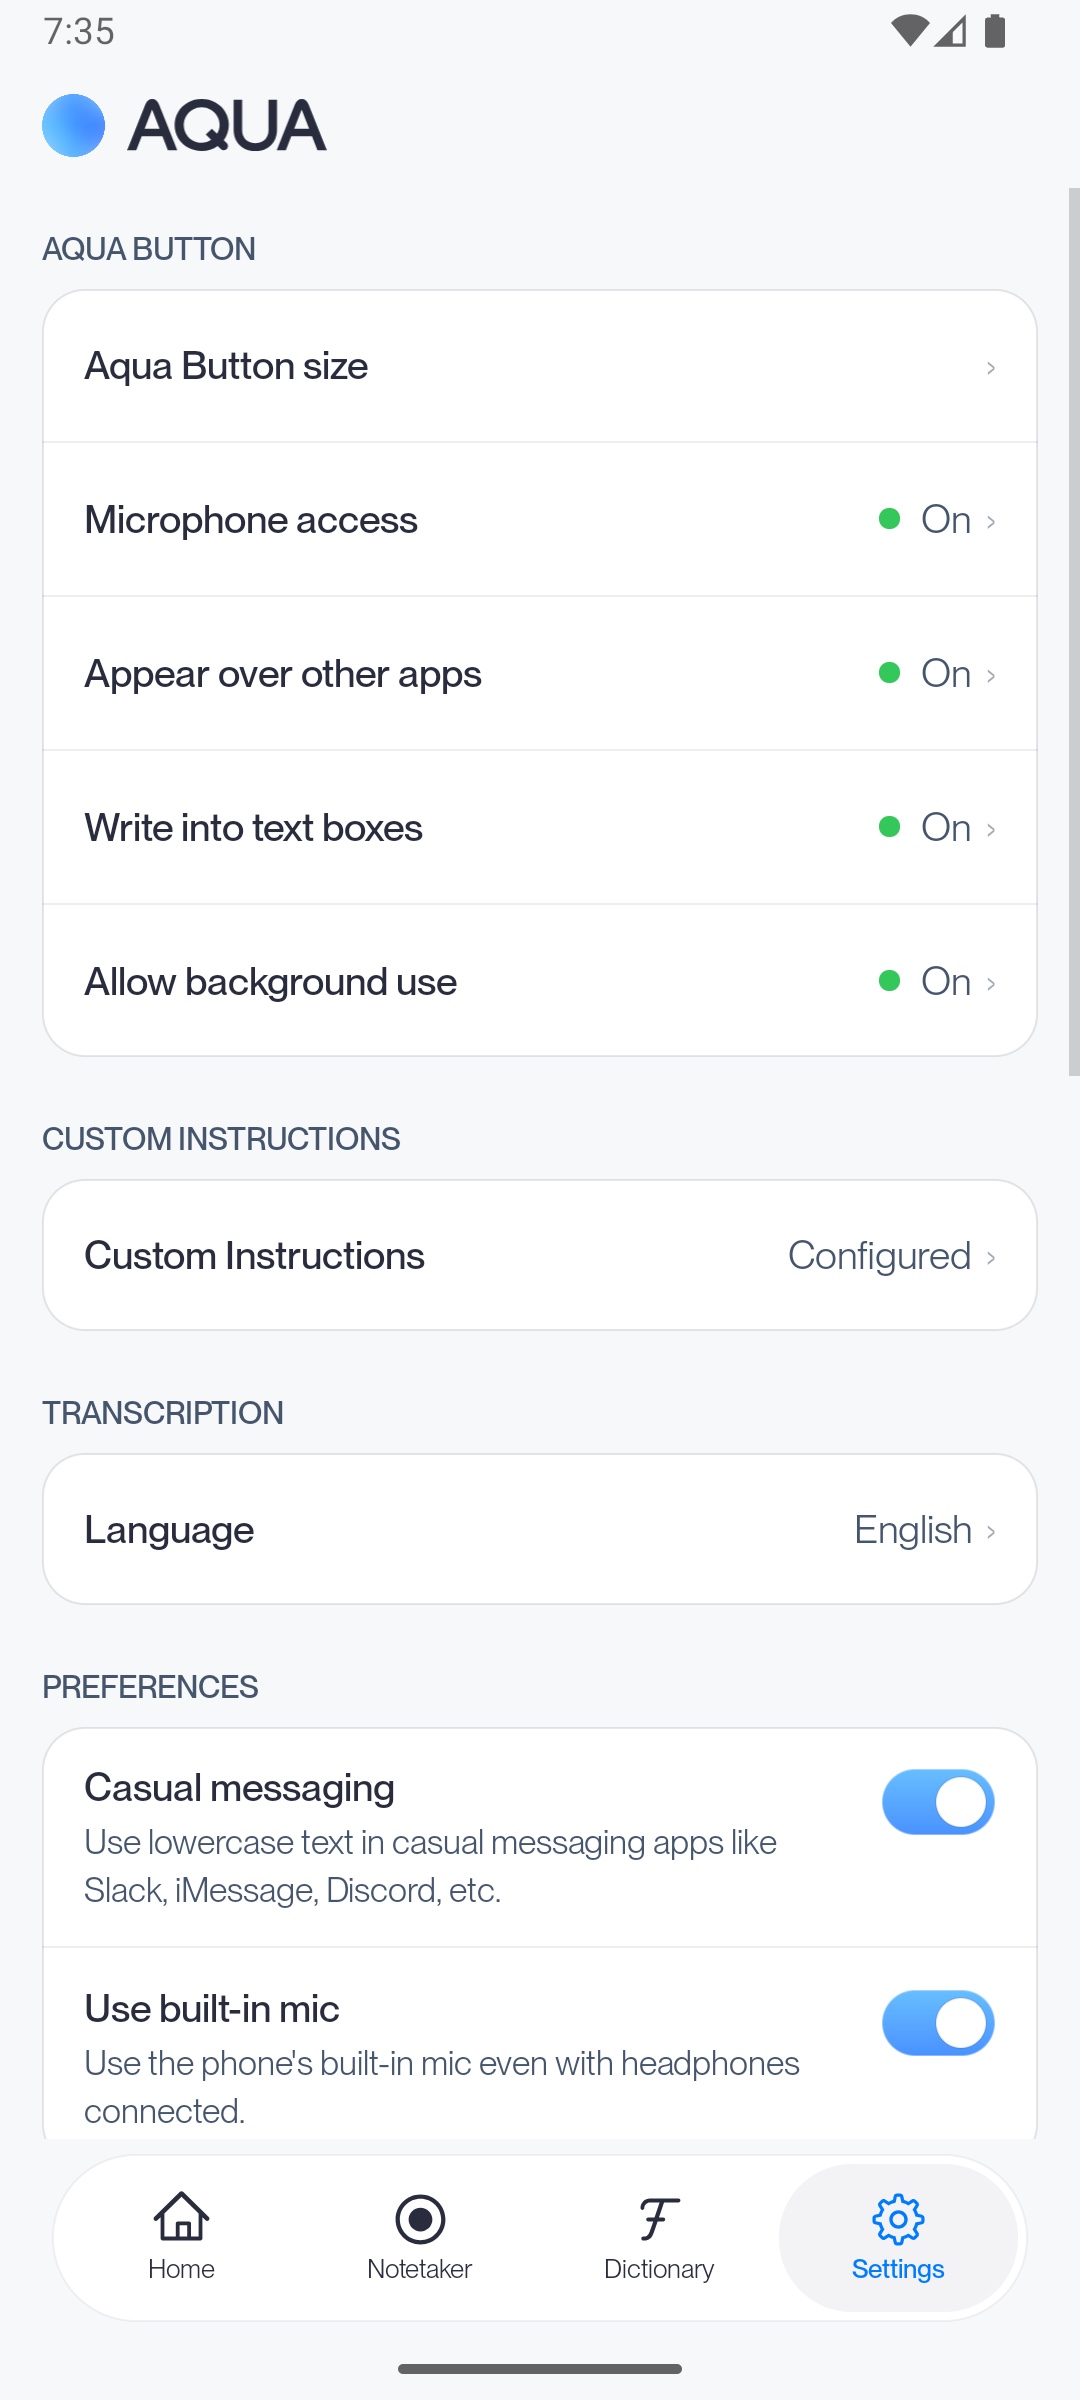
- Follow the setup prompts to allow Display over other apps, enable the Aqua Voice accessibility service, and allow microphone access.
These permissions let the floating Aqua Button appear and insert your words into the selected text field. Password fields are excluded. If a required permission is unavailable or blocked, setup cannot finish. Check with your administrator on a managed device, or contact support with the missing permission and device model.
Try your first dictation
- Open an app and select an editable text field.
- Click or tap the floating Aqua Button.
- Speak, then select the checkmark to finish.
- Keep the field selected and confirm that your words appear there.
Try a short dictation in each app you use. Text insertion depends on the app exposing its text field to Android’s accessibility or text input system.
Available features
The Android app includes the Aqua Button and microphone-based Notetaker for in-person meetings. Notetaker records through the device’s microphone. Realtime Mode and Send It are available in the Mac and Windows apps. Your subscription works across devices when you sign in to the same account.
If dictation does not work
Open Aqua Voice and check microphone, overlay, and accessibility access. Select the text field again and try another app. On Googlebook, also check the system-wide microphone privacy control if the microphone is unavailable.
See the Android guide for more about the Aqua Button. When you contact support, include your device model, OS version, whether it is managed, and the app or website you tried. Tell us whether dictation worked in an Android app on the same device.