

Get started on Windows
Set up Aqua Voice on Windows and use your voice in your existing apps.
Install and sign in
- Download the Windows installer from Downloads and run it.
- Open Aqua Voice and sign in. Use the same Aqua Voice account you use on your other devices.
- Complete the microphone and dictation steps in setup. If Windows blocks the microphone, allow microphone access for desktop apps in Windows Settings.
Dictate your first sentence
- Click inside a text field, such as Notepad or an email draft.
- Hold your activation key and speak. The Windows default is Right Alt.
- Release the key to insert the finished text.
Set a comfortable shortcut
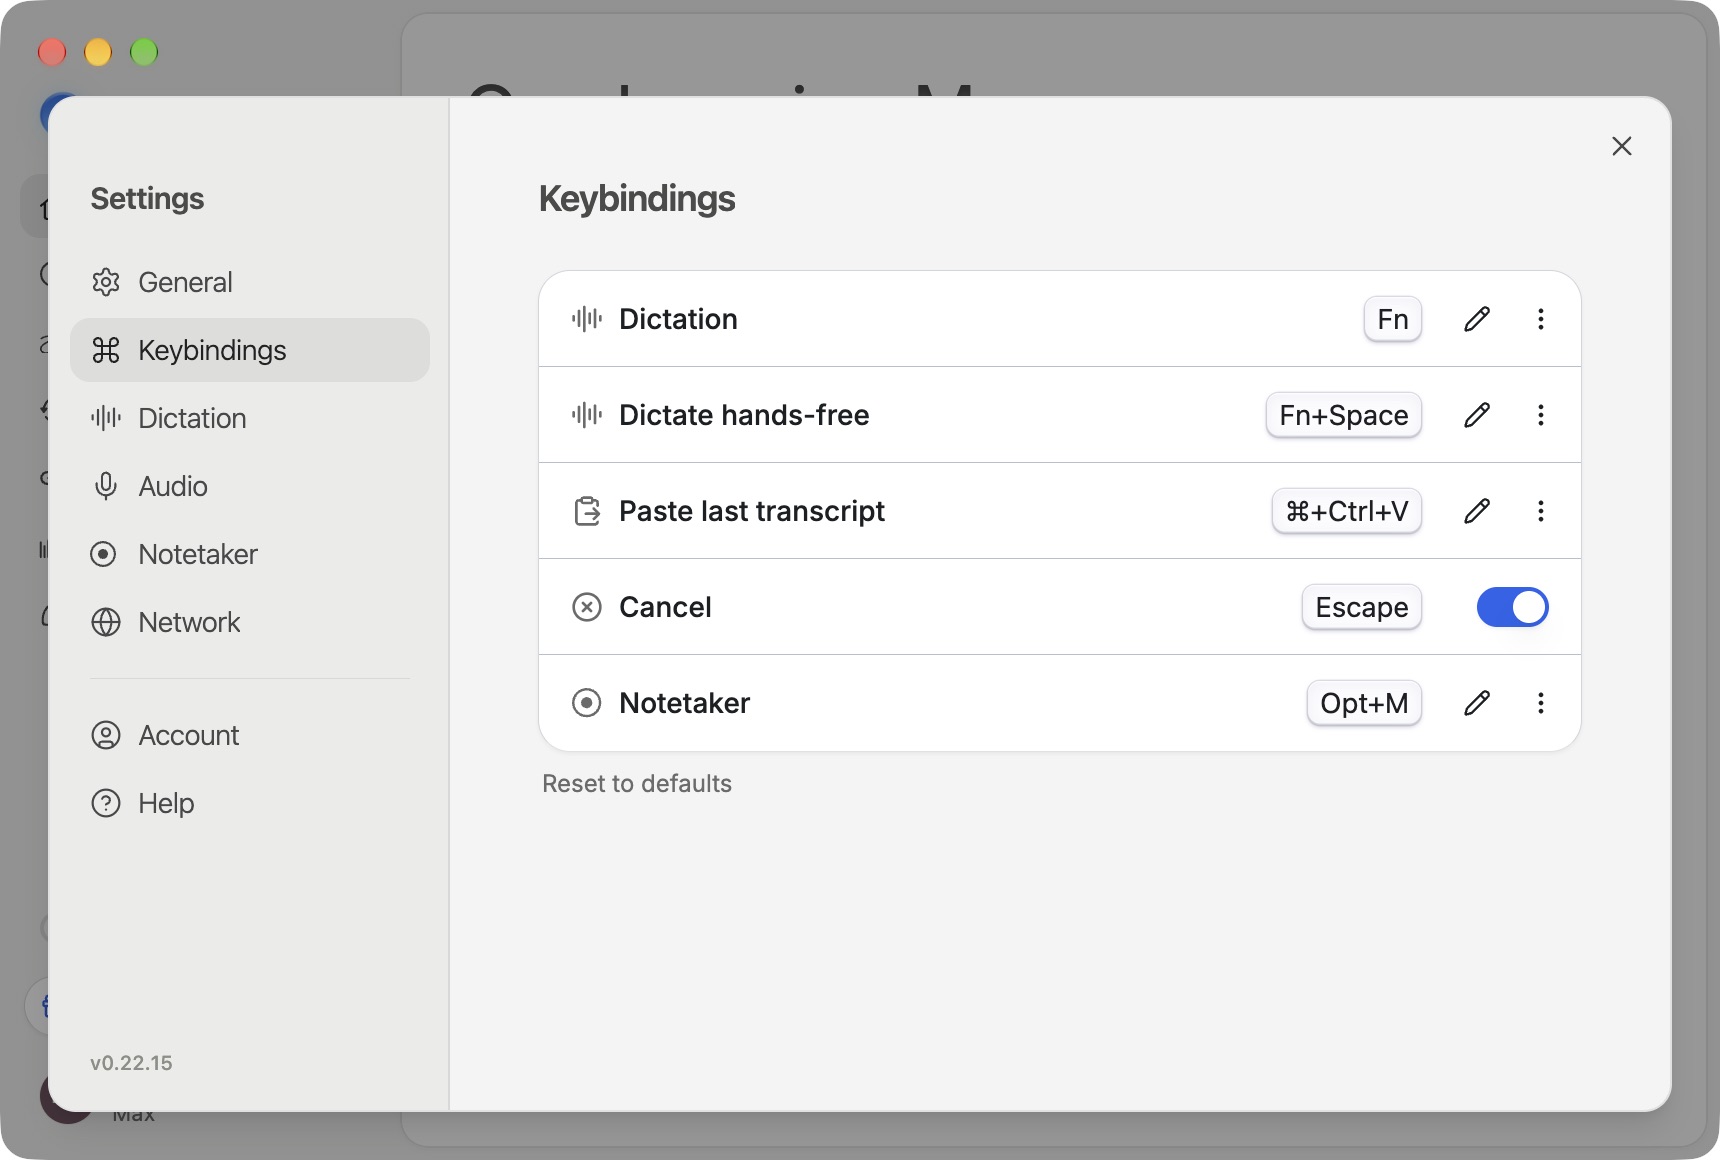
Open Settings → Keybindings in Aqua Voice. Choose a different activation key if Right Alt conflicts with your keyboard layout or another app. You can add more than one binding. See Activation keys.
For hands-free dictation, double-press the activation key or hold it and press Space. Press the activation key again to finish. In Settings → Dictation, choose Realtime when hands-free to see words while you speak, when your account and language support it. See Realtime Mode.
Make it your own
- Select your microphone in Settings → Audio.
- Teach Aqua Voice names and technical terms with the Dictionary.
- Choose what is retained with Privacy Mode.
- Record calls with Notetaker. Set its shortcut in Settings → Notetaker → Keybindings if you want one.
If dictation fails in one app, try Notepad to check whether the issue is specific to that app. Include both results when you contact support. See Troubleshooting.
Appearance and the floating bar
Open Settings → General to choose Match system, Light, or Dark under Appearance. Use Show floating bar to control whether the bar stays visible at the bottom of the screen.
Turn on Open at login to start Aqua Voice in the background when you sign in to your computer. If the bar is snoozed, turning on Show floating bar ends that snooze. For the pet's temporary hiding controls, see Aqua Pet.
Use Stats and Sharing to review your activity, and Connections and Calendars to connect meeting tools.