

Business administration
Manage members, shared vocabulary, and organization policies from the Business section of your Aqua Voice account. The controls available depend on your role and workspace plan. Open your account.
Invite and manage members
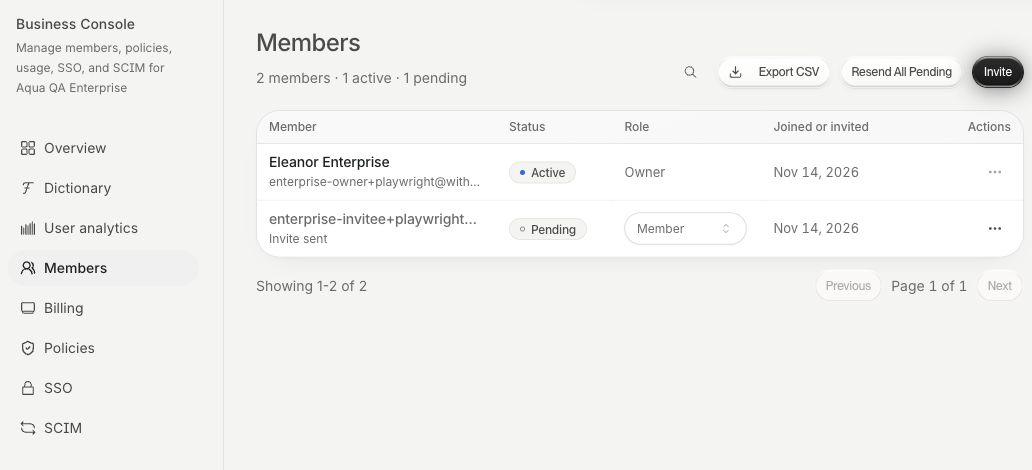
Open Business → Members. Invite people using their work email addresses and choose the roles they need. Pending invitations appear in the member list. Use Resend Invite or Revoke Invite from an invitation's actions menu when needed.
- Owners can manage owners and the rest of the workspace.
- Admins can manage members and invitations within their role permissions. They cannot change or remove owners.
- Members use the workspace without administrative controls.
At least one active owner must remain. Review the member list after invitations are accepted and remove access when people leave.
Maintain a shared dictionary
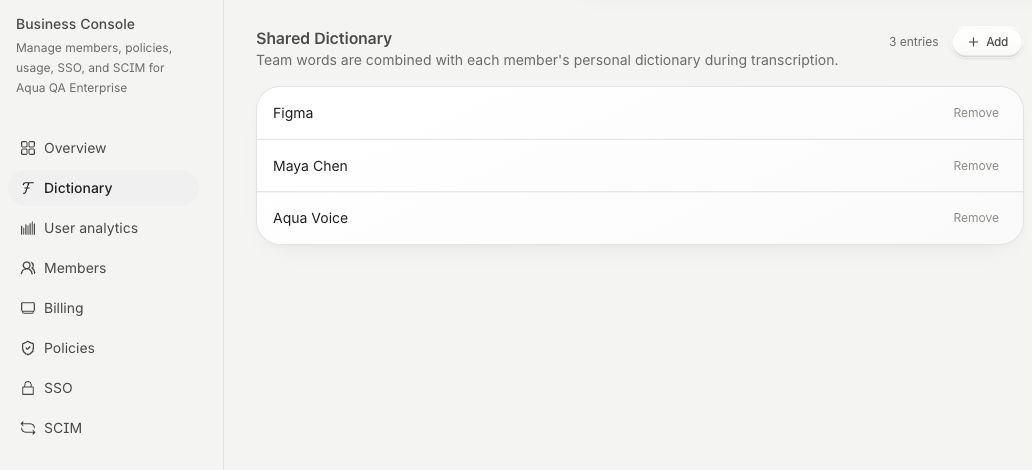
Open Business → Dictionary to add the names, product terms, and abbreviations your team uses. You can import words through the page's import control. Shared terms are combined with each person's own dictionary during dictation.
Set workspace policies
Open Business → Policies.
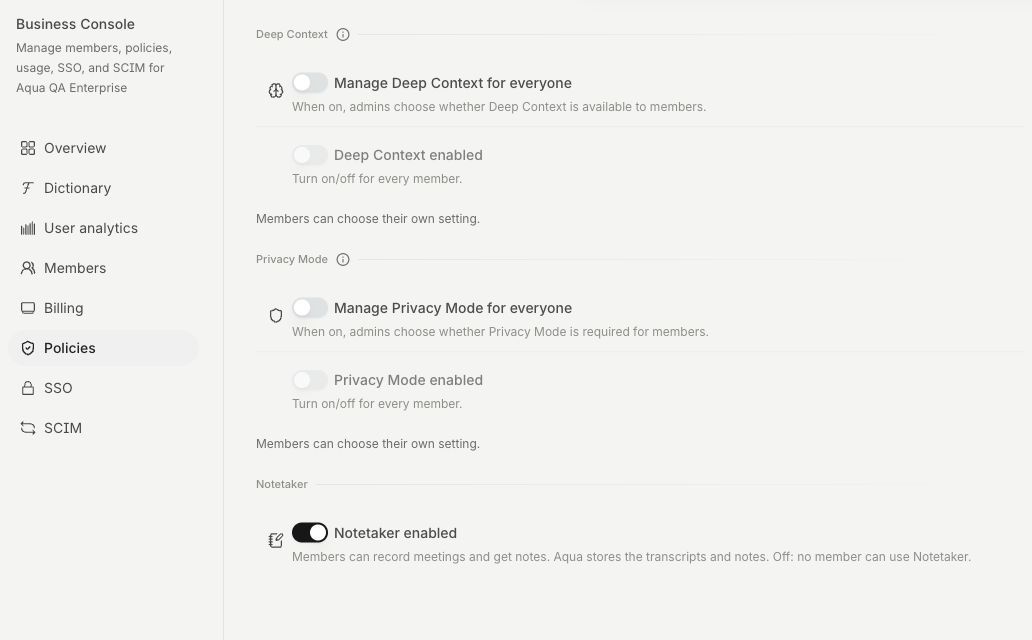
- Deep Context can be managed for everyone or left for members to choose. Each device still needs screen capture permission.
- Privacy Mode can be managed for everyone. It controls dictation retention and model-improvement use. Meetings still retain transcripts and notes.
- Notetaker enabled controls whether members can use Notetaker.
- Require Zero Data Retention, when available, restricts processing to providers that do not retain data. It locks Privacy Mode on.
Read Privacy Mode for meeting and dictation behavior.
Set up SAML single sign-on
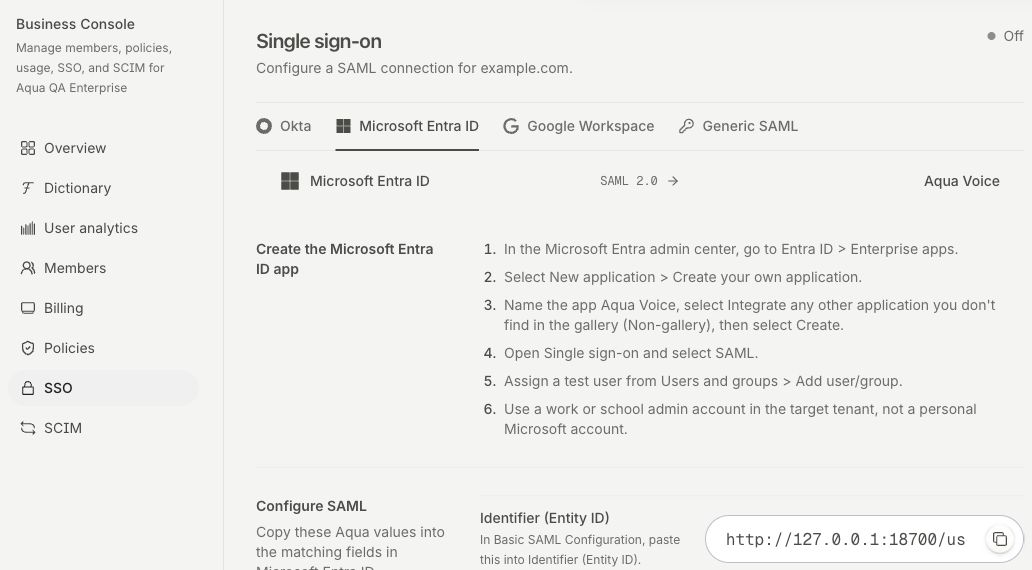
- Open Business → Security and choose your identity provider in the SSO setup flow.
- Create the SAML app in your provider. Copy the Aqua Voice values shown in the flow into the corresponding provider fields and set the listed attribute mappings.
- Import the provider's Metadata URL or XML, or upload its XML file. The advanced settings also accept the IdP entity ID, SSO URL, and signing certificate.
- Choose Save and Test Connection and complete sign-in through the identity provider.
- Have every active owner complete SSO once. Aqua Voice requires this before you can require SSO for the workspace.
Use the values shown for your workspace. If validation fails, correct the highlighted field and test again before requiring SSO.
Set up SCIM provisioning
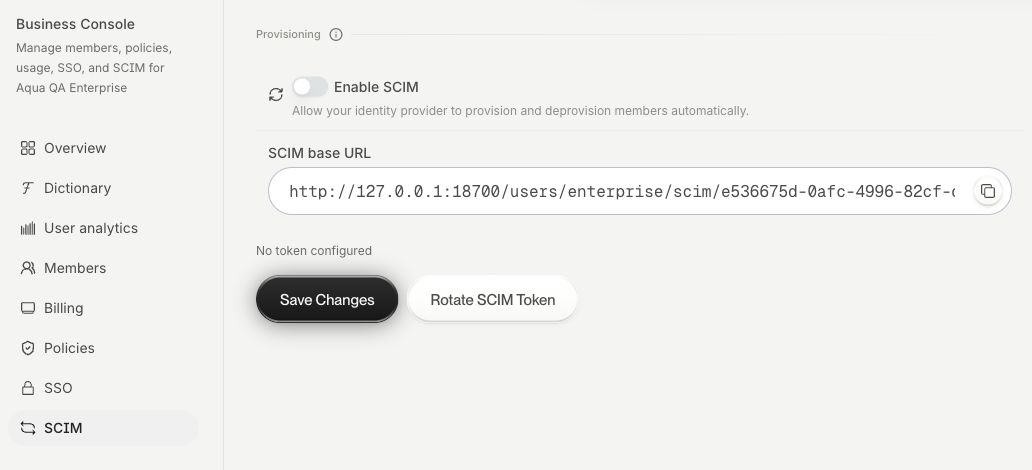
Open Business → SCIM. Aqua Voice supports providers with generic SCIM, including Okta and Microsoft Entra.
- Enable SCIM and save the setting.
- Use Rotate SCIM Token to generate the token for your provider. Copy the new token when it is shown.
- Enter the displayed SCIM base URL and bearer token in your provider's provisioning setup.
- Assign a test member in the provider and verify the result in Members before provisioning the rest of the team.
The provider can provision and deprovision members. Rotating the token replaces the credential used by the provider, so update its configuration at the same time.
Billing and help
Use Business → Billing for the billing controls your role and plan provide. For account questions, see Account and billing. For a security review, see the Security overview.
See Zero Data Retention for Business for setup, workspace enforcement, and retained meeting content.
Detailed administration guides
- Single Sign-On covers SAML setup, testing, and required sign-in.
- SCIM Provisioning covers automated membership and connection maintenance.
- Business Billing and Seats covers seat changes, renewal, invoices, and contract billing.
- Business Usage and Reporting covers adoption, date ranges, member reports, and exports.
- HIPAA and BAA covers healthcare agreements and the resulting privacy controls.